TUTORIAL: CUSTOM SPRITES IN GMOD9
FROM PhotoShopCS TO GARRYS MOD FOR HL2
By Russell Lowe
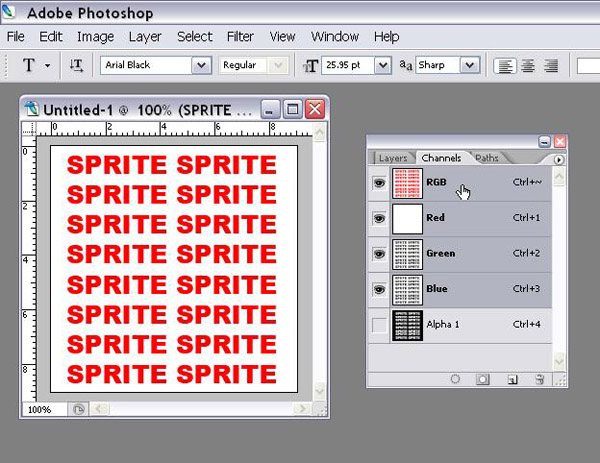
Step 1: Create a custom material with the dimensions 256 x 256 pixels in PhotoShop. Add an alpha channel under the Channels tab.
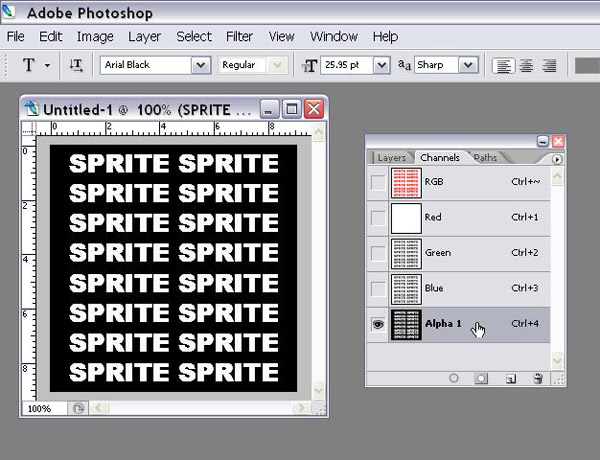
Step 2: I copied the image from the RGB channel and adjusted the levels so it was black and white only. This means the white areas showing here will make the red text in the RGB image opaque while the black areas here will make the white in the RGB image translucent.
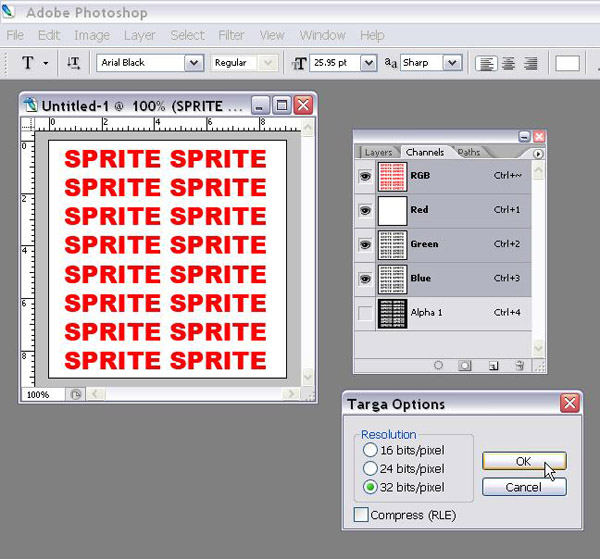
Step 3: Save it as a *.tga file and make sure it is 32 bits/pixel (the extra 8 bits defines the alpha channel information).
Step 4: Open Steam.

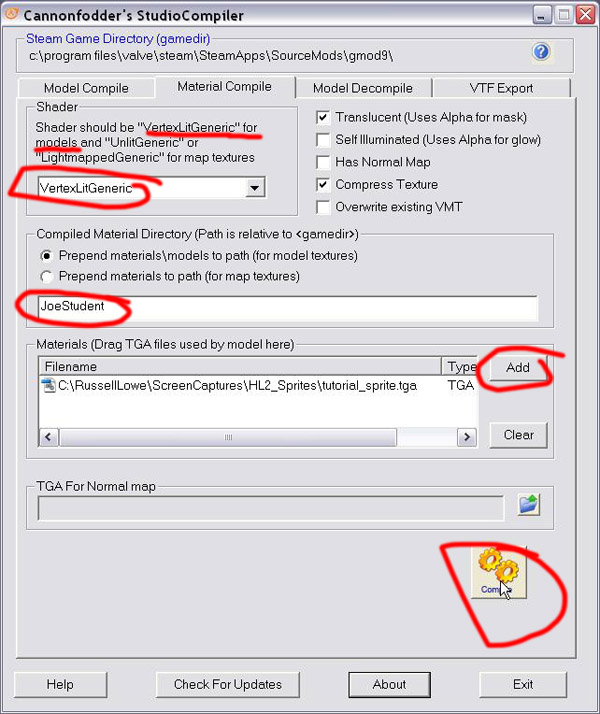
Step 5: Open Cannonfodder's Studio Compiler and fill in the Material Compile tab as I have here.
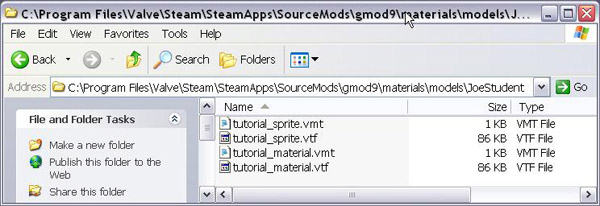
Step 6: Here is the compiled *.vmt and *.vtf files in the JoeStudent folder.
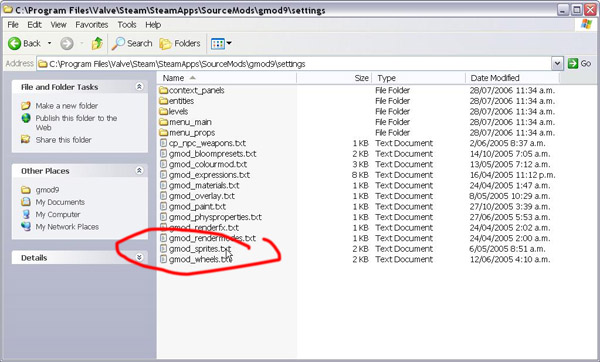
Step 7: Find the gmod_sprites.txt file and open it into Notepad (or ConText or equivalent text editor).
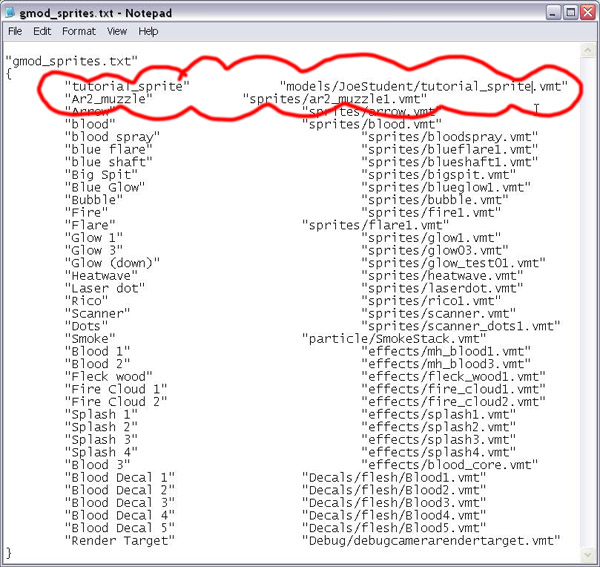
Step 8: Create a new line with a title and directory like the one I have below. The title of the sprite doesn't show up in gmod9, but its position in the list below is consistent in the gmod9 interface.
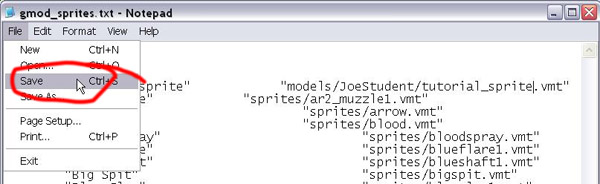
Step 9: Save the gmod_sprites.txt file and open Gmod9 in Steam.
Step 10: Here is a short video clip showing the sprite in game.